Reset HomePod Mini With Mac or PC
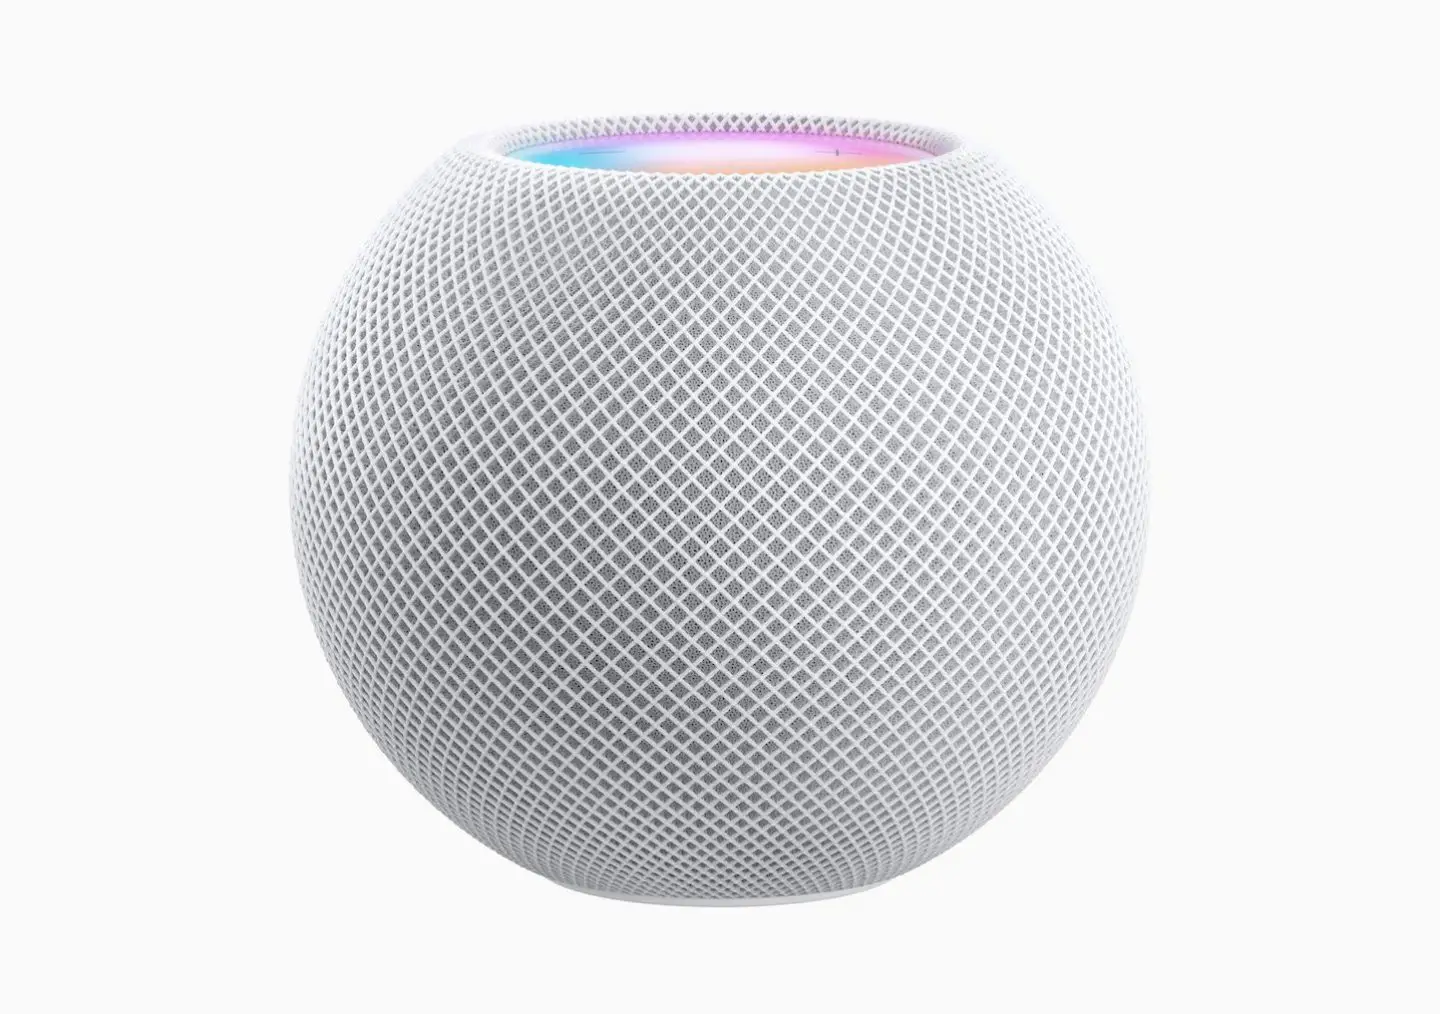
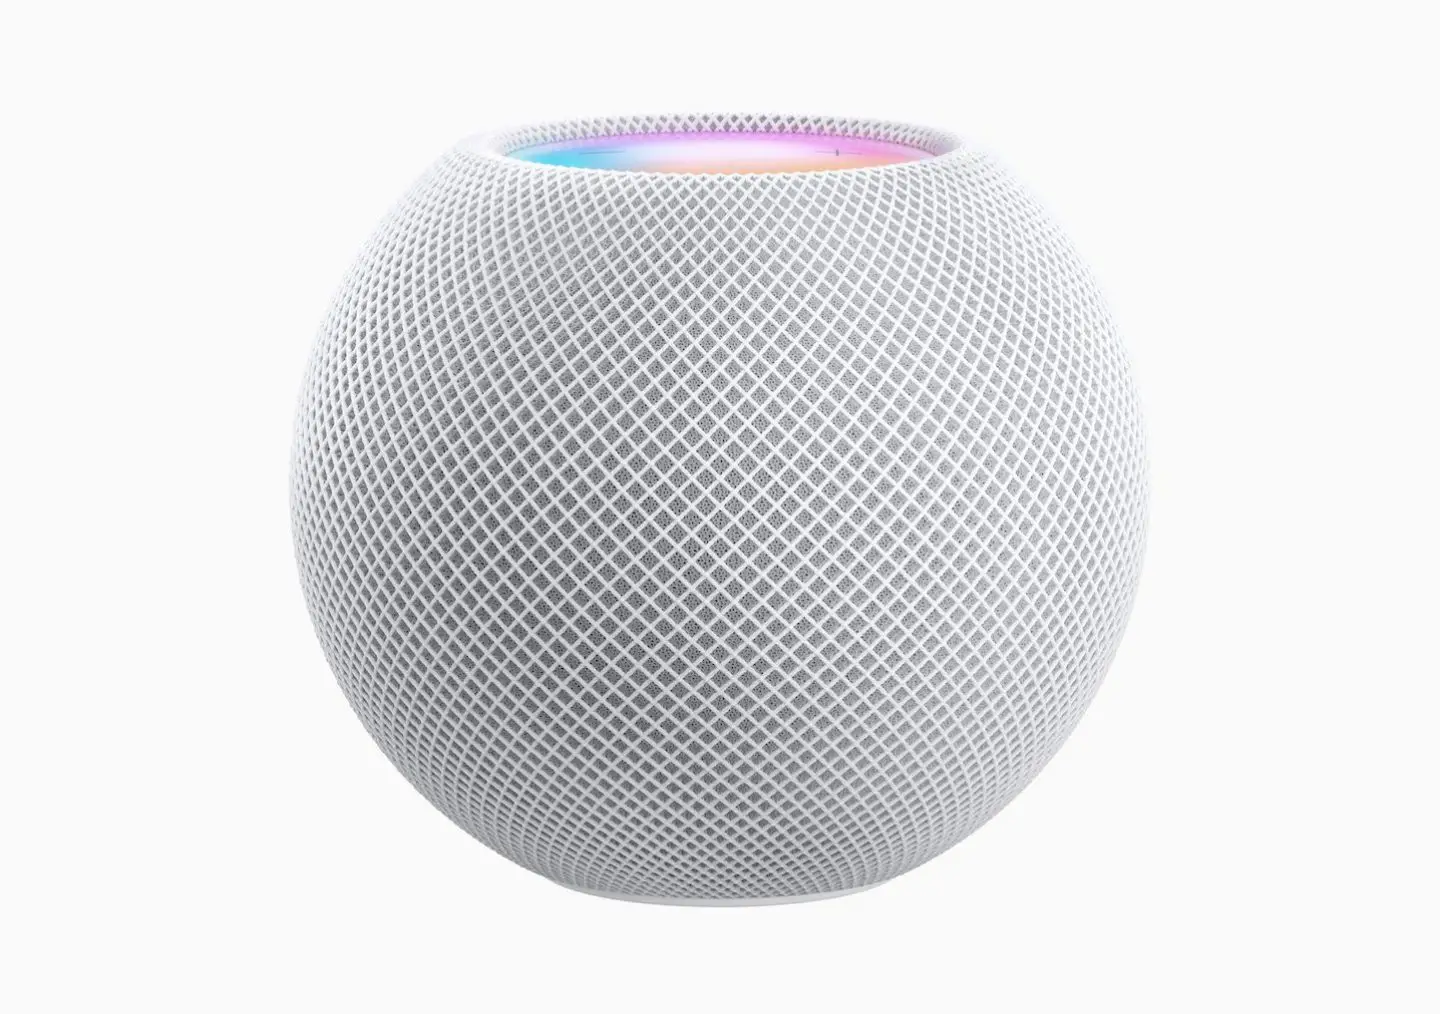
If you own the HomePod Mini, there’s a third option that you can try if the first two methods were unsuccessful. The HomePod Mini has a charging cable that you can plugin into a MacBook, Mac Mini, iMac, or a PC. Using the cable, you can use Finder or iTunes to restore the HomePod Mini to its factory settings.
Steps To Reset HomePod Mini
- Plug HomePod Mini into your computer using the USB-C cable that came with it.
- Wait a few seconds until you see your HomePod Mini in the sidebar under Locations.
- Select your HomePod and select restore HomePod.
- Your Mac will prepare to restore the software on your HomePod mini. You will notice that the orange flashing light has stopped, indicating that the HomePod Mini has completed the restoration.
Set up HomePod
After resetting your HomePod, you will need to set it back up! Below are the steps to set it up!
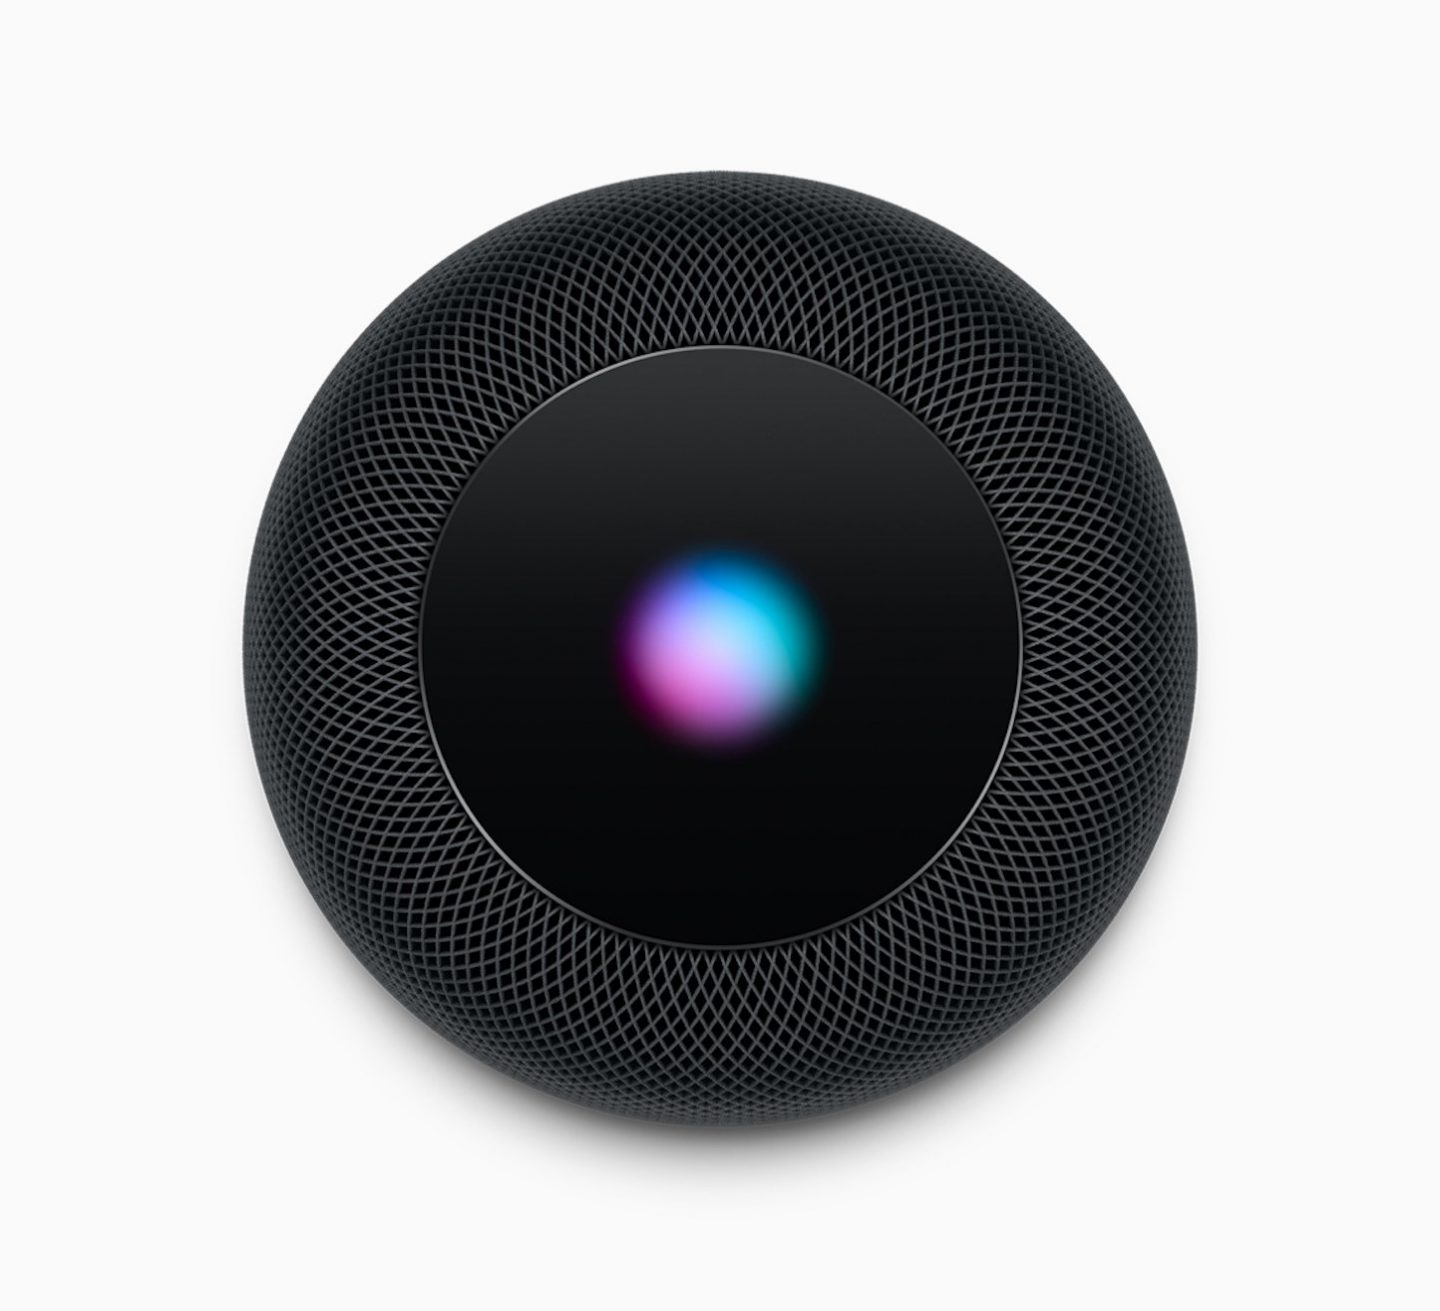
- Plug HomePod in to power. You will hear a chime and see the pulsing white light on top of the HomePod.
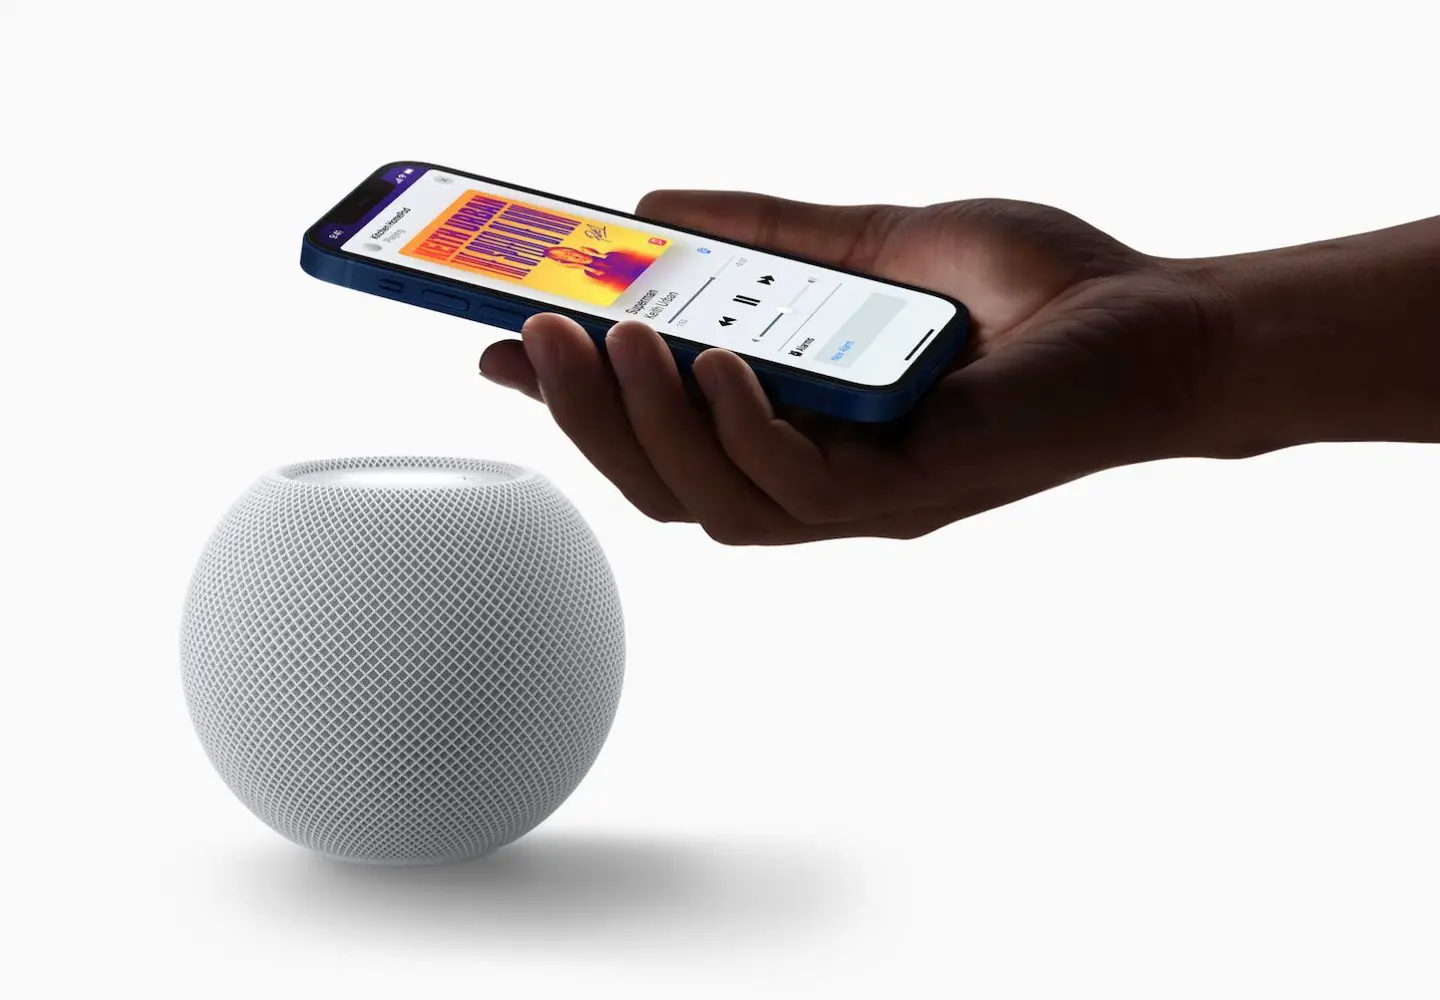
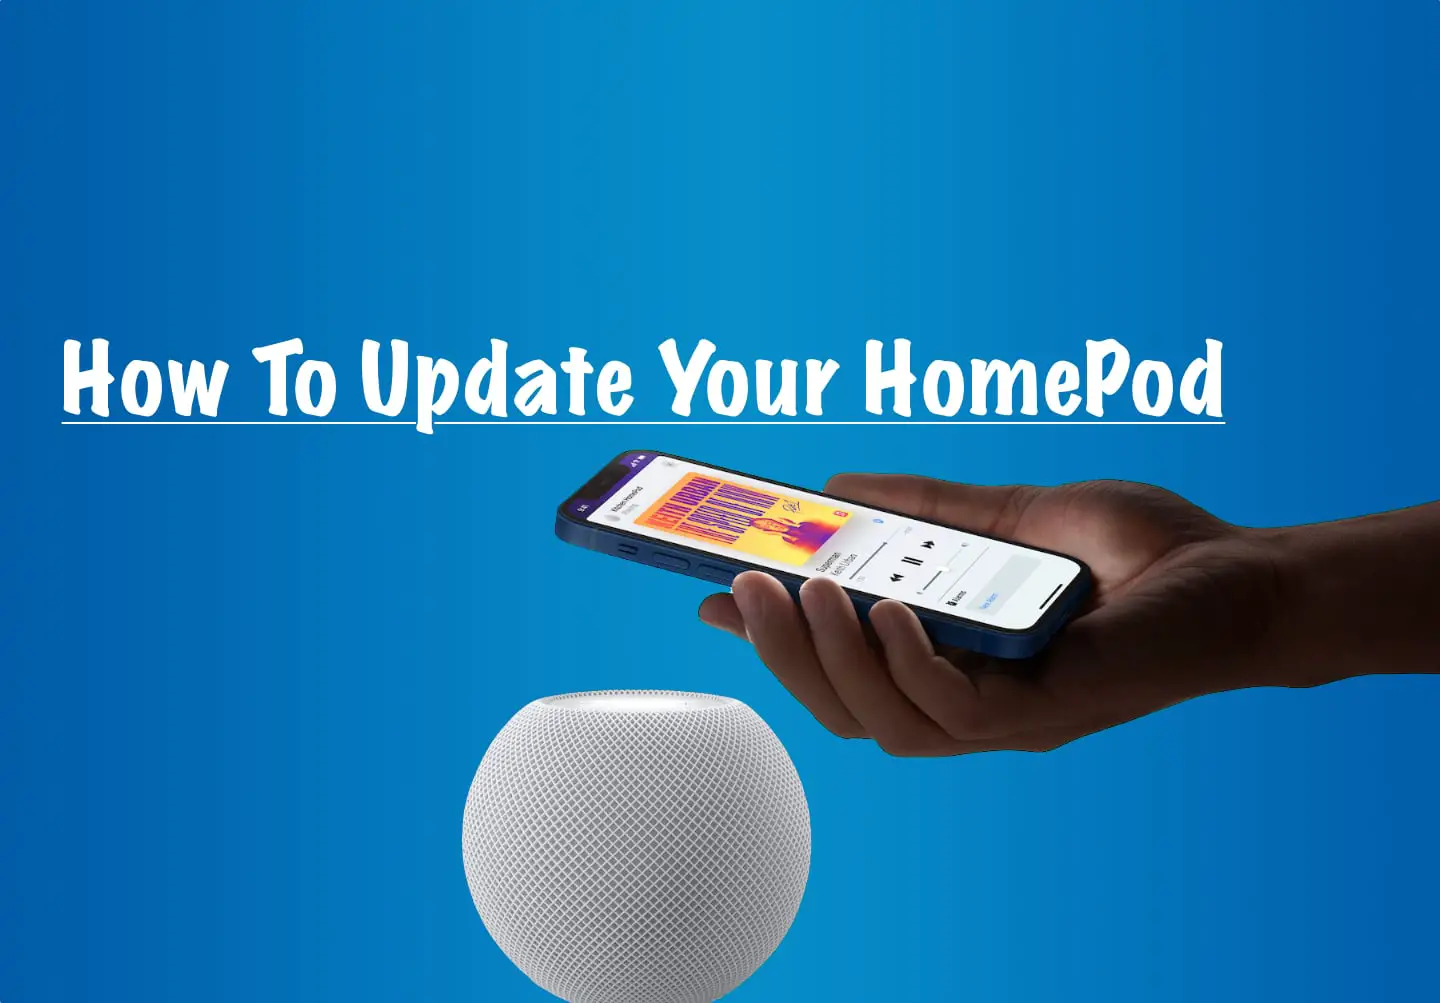
- Hold your iPhone or iPad near the HomePod and tap set up when you see it on your screen.
- Follow along with the on-screen directions to choose your preferred HomePod settings.
- When asked, center your HomePod on your iPhone or iPad to complete pairing. If your camera isn’t working, tap to enter the passcode, and Siri will respond with a four-digit passcode to enter on your device.
- Wait for HomePod to complete setting up. You will be greeted by Siri and a few things you can say.
HomePod Fails During Setup
A white screen, Wi-Fi incompatibility, or a -6722 error code. These are all signs that your HomePod can’t get through the device’s initial setup. Fortunately, there is hope if you’re having trouble with this! First things first: confirm that iOS and the Homepod both have access to the same network and running the latest firmware versions of each operating system. If so, check for two-factor authentication enabled in Apple ID settings and iCloud Keychain.
For two-factor authentication on your iOS device, go to Settings > Your Name > Password and Security, then make sure the option is turned on. For the iCloud Keychain, go to Settings > Your Name > iCloud. If you’ve followed all these steps correctly but are still having trouble connecting or logging in with 2FA enabled, it could be network related
You can’t see HomePod on your iPhone.
The HomePod is designed to interact seamlessly with your Apple devices such as your iPhone. When you’re setting it up for the first time, some people find that the HomePod doesn’t seem to show up on their iPhone. The source of the problem can be a lot of things, but one easy solution is to follow these steps:
- Disconnect the HomePod from the power source and connect again.
- Restart your iPhone. Once it has been turned on again, the setup wizard should appear on the screen.
- If it doesn’t show up, open the Home app on your iPhone.
- Tap on the Add symbol located in the top right corner of the screen.
- Select Add Accessory.
- Place or hold your iPhone close to the HomePod. Your iPhone should be able to detect your HomePod.
- If this still doesn’t work, check your WiFi connection and ensure that it doesn’t have a firewall. Once you’re checked these and made the necessary changes, try again, and the HomePod should show up on your iPhone.
AirPlay isn’t working on your HomePod.
Did you know that the HomePod can also be used via AirPlay? If it isn’t showing up on your list of available sources, here’s how to fix this:
- Turn on the Bluetooth on your iPhone.
- Next, connect to a WiFi connection and make sure that it doesn’t have a firewall. A firewall on your Internet can impede the HomePods ability to use AirPlay
- If it still doesn’t work, restart both devices and try again.
If you’re streaming from your Apple TV, you’ll also need to enable Airplay enabled for the device. To do so, using your Apple TV remote, go to Settings > Airplay, then enable Airplay.
Still no Airplay? As we’ve mentioned previously, do a hard reset of your HomePod and your iOS device, and then try using Airplay again.
Your HomePod isn’t connecting to WiFi
No luck getting your HomePod to connect to the Internet? That is one big issue, albeit a really common one. There are many reasons you may have a problem with your HomePod. For starters, as part of iOS 12, your HomePod will jump on the same WiFi network as your preferred iOS device (iPhone, iPad).
It’s relatively easy to fix this issue. Just follow the instructions below:
- First, restart your WiFi router.
- Open the Home app and heading to the Settings. Next, tap “restart” your HomePod.
- Try connecting your HomePod to your WiFi again.
If you still cannot connect to WIFI with your HomePod, try these steps below.
- Restore your HomePod to factory settings.
- To manually reset, disconnect the HomePod from the power source. Wait for 10 seconds and reconnect.
- After 5 seconds, press and hold the top of the HomePod. The HomePod’s lights will turn green if done properly.
- Next, Siri will notify you that the HomePod is about to reset and release once you hear three beeps.
- Lastly, you will need to set up your HomePod.



0 Comments