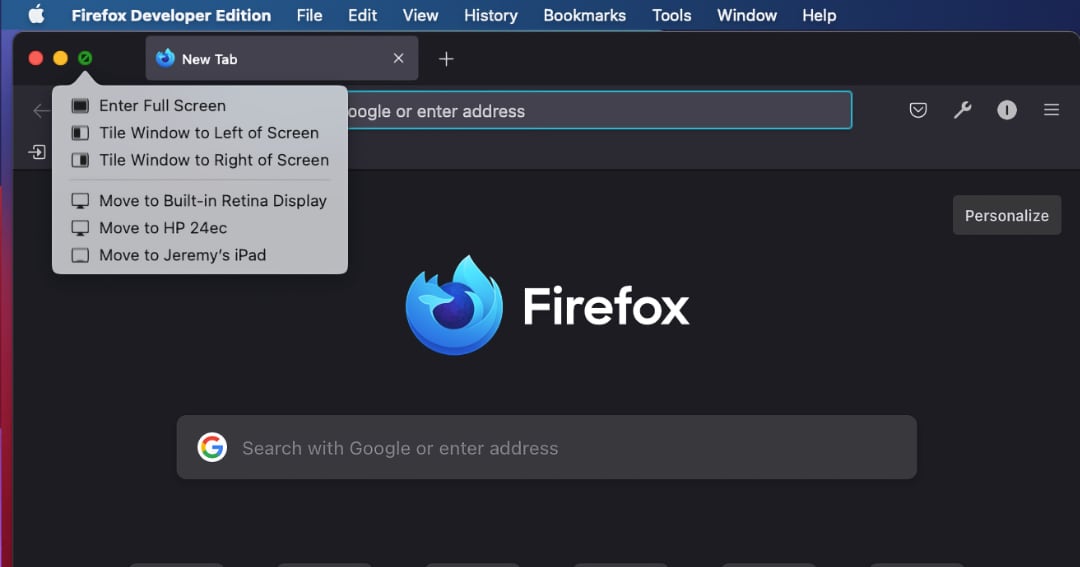
3. Choose either the tile window on the left or the tile window on the right of the screen. The split-screen mode will be initiated automatically on your Mac.
4. On the other side of the screen will then show other open windows. The window you select will fill the remaining half of your screen when you click it on the rest of your screen.
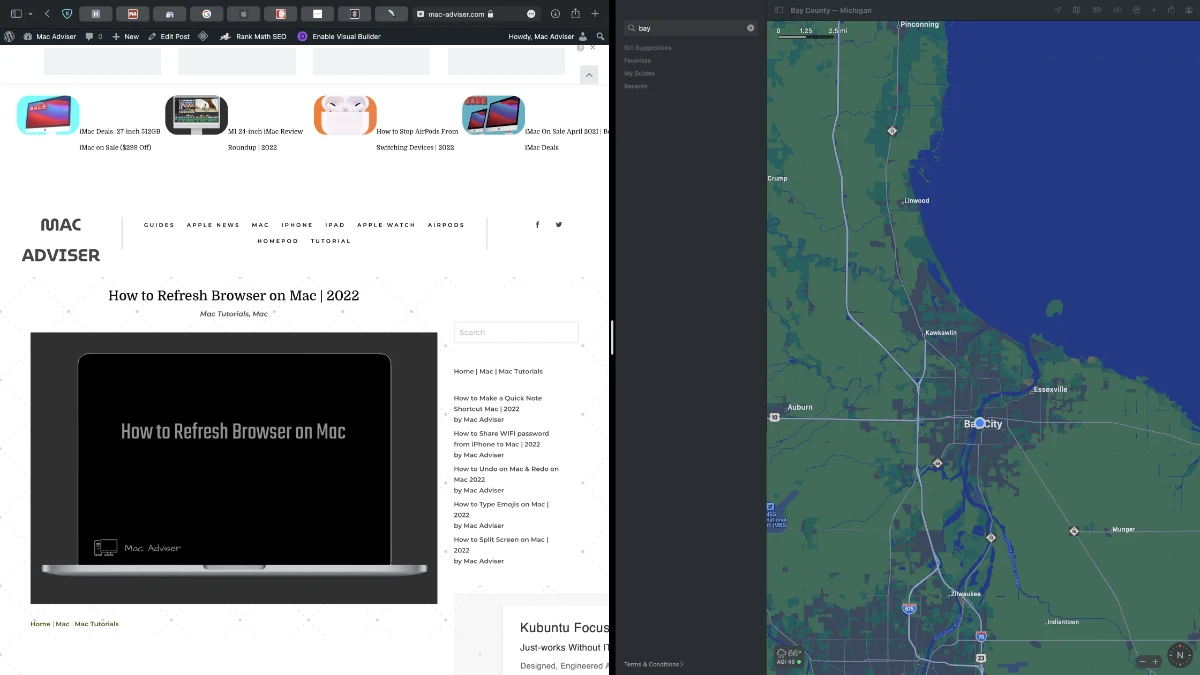
5. Use the slider in the middle of the screen to adjust the size of the windows.
You can view both windows at once while using Split View. Let’s multitask!
Adjusting Split View on Mac
With Split View, you can adjust how much of your screen each app takes up. You don’t need to divide it evenly, and this is particularly useful in viewing a large web page with an odd design or extra space while working on a big spreadsheet.
Some apps have minimum widths that won’t allow adjusting the bar, though, so be aware.
If you want to swap the windows’ locations, click and hold an app’s Title Bar, then drag it to the opposite side. The window will automatically switch places!
If you find the windows too small, you can adjust the resolution of the entire window. This will give you more room to get your multitask on!
Accessing Mission Control in a split-screen view
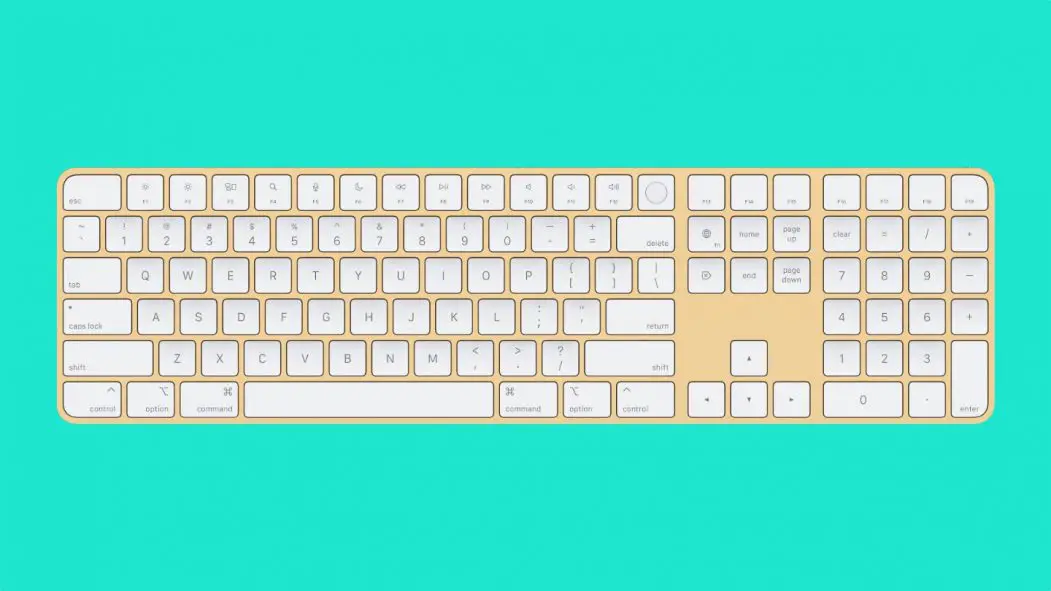
Now, you can easily toggle between both windows in split-screen mode. If you need to access your desktop, you can use Mission Control. To use Misson Control, you can use the F3 key or Control + Up Arrow. You can also set up gestures with your Magic Mouse and Magic Trackpad.
- Magic Trackpad Swiping up with three or four fingers
- Magic Mouse: Double-tap with two fingers
Want to use the gestures above? Make sure you have set up the correct settings. To do so, go into Apple Menu → System Preferences → Mouse / Trackpad and make sure to select the gestures above!





0 Comments