There are many tools to allow you to take a screenshot on Mac and have always been simple to use yet somewhat rudimentary. You could capture just about anything if you knew the correct keyboard shortcuts.
Since the release of Mojave, macOS has a built-in screenshot tool that enables you to take screenshots with the click of a button. Here's how to capture what's on your screen.
If you want to take a screenshot, navigate over to the Screenshot tool in Launchpad. This tool has three options for taking screenshots: capturing the whole screen, capturing the selected window, and capturing the selected portion. There are also two options to capture recorded video. The two options are to record the entire screen or record the selected portion.

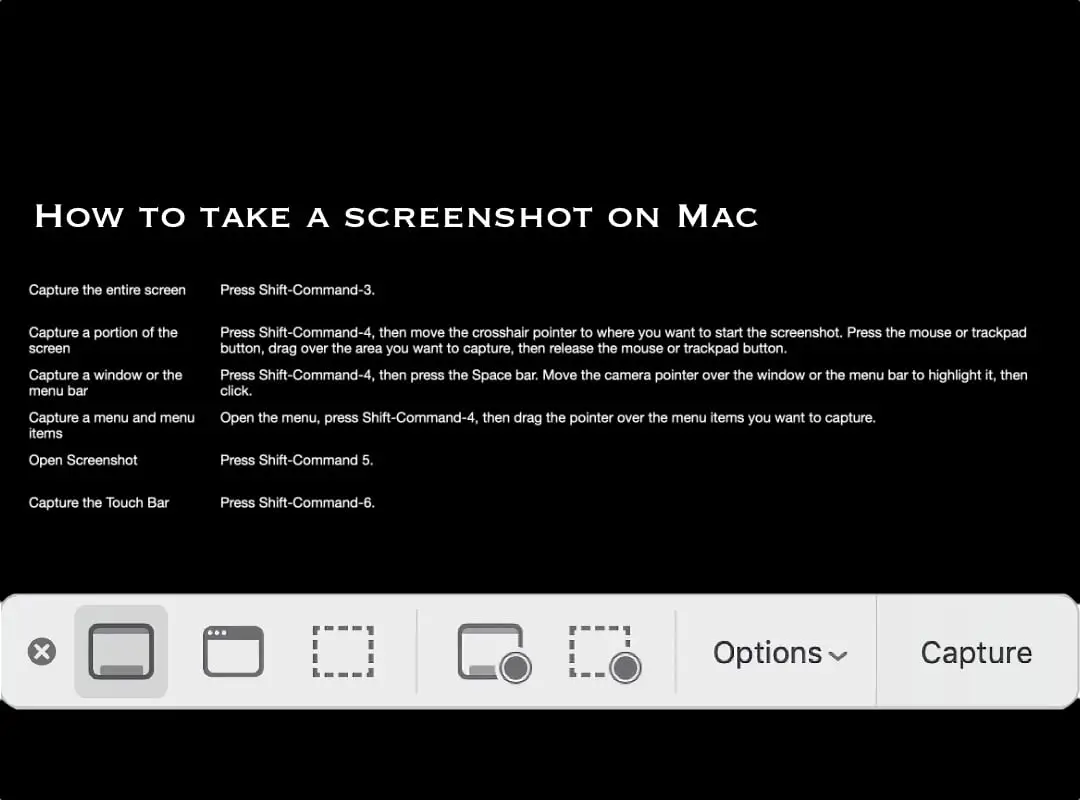
How to take a screenshot on Mac | Shift + Command + 3
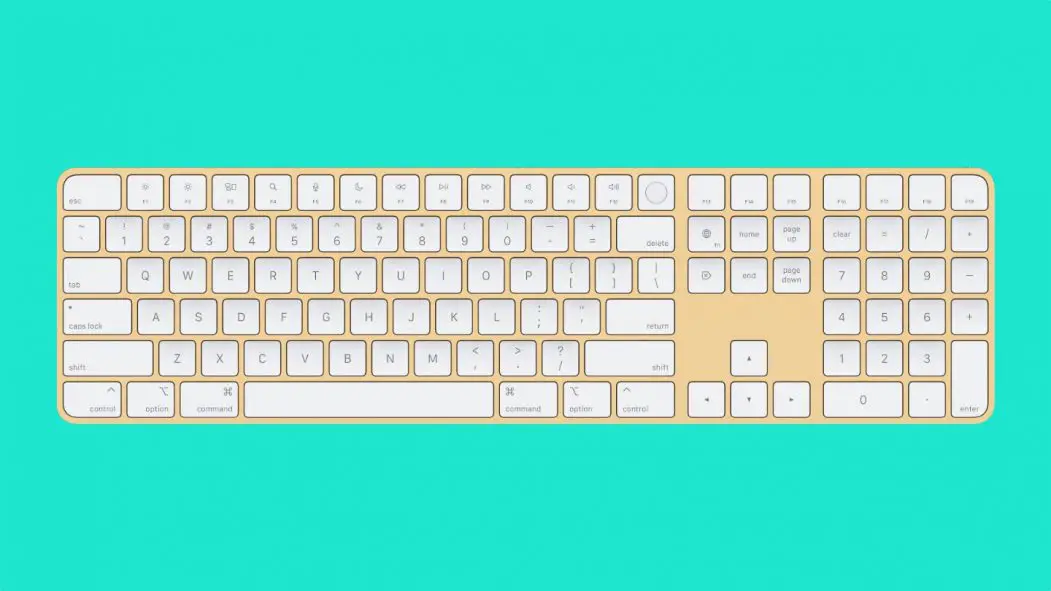
You can take a screenshot of the entire screen from inside the screenshot tool, or you can use the shortcut Shift + Command + 3. The default screenshot format is PNG, but you can export it to various formats utilizing the preview tool.
How to take a screenshot on Mac | Shift + Command + 4
Taking a screenshot is as easy as pressing Shift + Command + 4 and selecting an area with the cross-hair cursor. You can also change the size of your selection – hold down Option or Space bar while clicking to enlarge it! Capturing screenshots on Mac computers has never been easier than this before.

How to take a screenshot on Mac | Shift + Command + 5
Capture the perfect Screenshot with customized ease! Press Shift + Command + 5 to turn your pointer into a camera. Move it over any window or menu you want, highlight what you are looking for, and click on it; this will save an image of only that selection as a .png file onto your desktop.
If there is anything, in particular, you need to grab quickly before moving along with other tasks, use the space bar to switch between capturing custom selections and grabbing specific menus – all at once!
How to take a screenshot on Mac | Shift + Command + 6
If you have a Mac with a Touch Bar, then all it takes is pressing Shift + Command + 6 to take an image of your screen. The Screenshot will be saved as .png on your desktop.
You may be used to saving your screenshots on the desktop by default, but you can change that. You might want your screenshots saved in a separate folder for easy access and organization; or, perhaps you'll prefer uploading them straight to Messages.
Either way, all of these options are available – with just one click. Using this app is simple: open it up via Shift + Command + 5 (or Launchpad > Other > Screenshot), choose which preferences work best for you under Options-Save To menu section.
How to capture delayed screenshots and videos using the Screenshot app
Do you want to capture your cursor with every Screenshot? The built-in Screenshot app can do that, and it's in the Other folder on Launchpad or the Applications > Utilities folder in Finder.
Open Screenshot, then click Options to set up a delay for capturing screenshots after clicking the take button. You also have buttons available that allow you either select the entire screen, just one window of many windows open at once or get different sizes by dragging over an area on your desktop.
Now, you know several ways how to take screenshots on Mac. If you found this article helpful, you might also find these Mac Adviser articles useful as well.
- How to take a screenshot on Mac | 2021
- How to Change Siri’s Voice | iOS 14.5 | 2021
- How to Prevent Apps From Tracking You on iPhone | 2021
- How to Right-Click on a Mac with Magic Mouse | 2021
- How to Find the Serial Number on a MacBook
- 11 most useful Mac keyboard shortcuts | 2021
- How to Undo on Mac – Keyboard Shortcuts | 2021
- How to Type the Degree Symbol on Mac | 2021
- How to Screen Record on Mac with Audio | 2021
If you have any helpful tips or tricks about screenshot on Mac, please drop a comment below!
0 Comments