Screen Record Settings
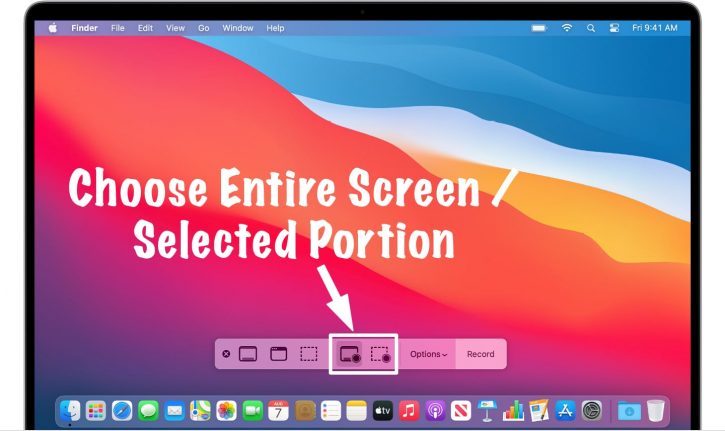
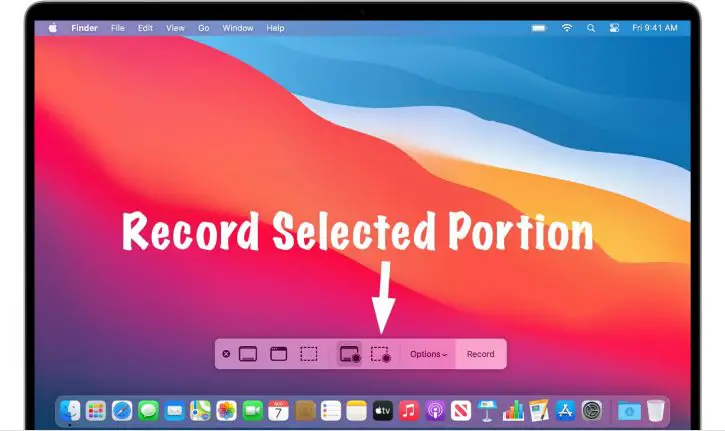
If you want to take a screenshot, then the first three icons on your Mac’s toolbar can help. You’ll find more information about them in this guide from our blog.
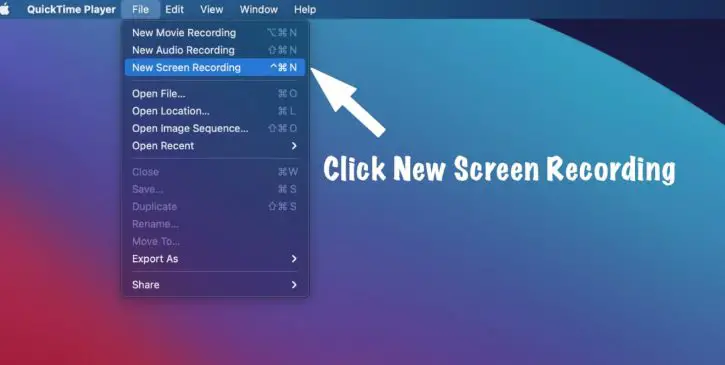
The Microphone option is what you’ll want to adjust if you plan to capture audio while recording your Mac screen. For example, let’s say you’re giving a work presentation and find it necessary to use an external microphone. In this scenario, this setting tells QuickTime Player which mic is used for recording purposes.
Okay, so you can make your cursor into a circle of rings when recording. This setting is excellent for presentations and teaching. This setting is under Options.
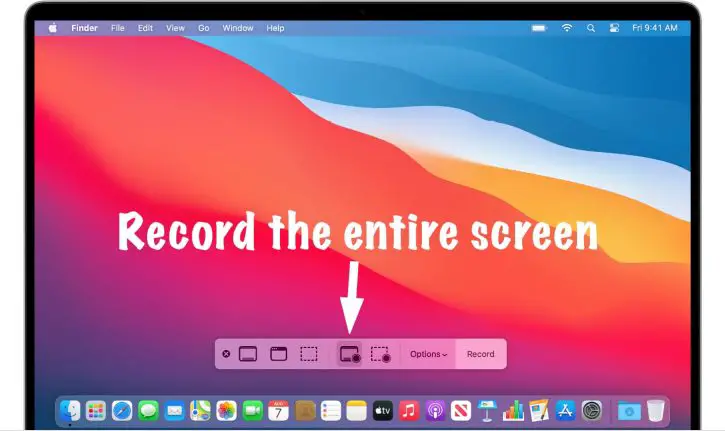
When you’re ready to record, click the Record button. A small stop sign-like icon will appear on the top-right side of your display. Click on that when you’re done recording and wait for just a few seconds before it’s processed into an editable clip with QuickTime automatically launching so you can save or export right away and share if desired.
Now, you know several ways to screen record on Mac with audio. If you found this article helpful, you might also find these Mac Adviser articles useful.
If you have any helpful tips or tricks about screen recording on Mac, please drop a comment below!




0 Comments